For perfectly crispy pan-seared shrimp, start by choosing fresh, firm, and medium-sized shrimp. Pat them dry thoroughly to prevent steaming and promote a golden-brown crust. Preheat your pan to the correct temperature to maintain a tender inside and a crispy outside. Use high heat and avoid overcrowding the pan to guarantee even cooking and a delightful golden crust. Watch for the appropriate cues to flip at the ideal time, securing both sides are cooked to perfection. Mastering these techniques promises crispy, flavorful shrimp with every sear. Once cooked, transfer the shrimp to a plate lined with paper towels to absorb any excess oil, ensuring they remain crisp. To enjoy them at their best, serve immediately, but if you have leftovers, storing cooked shrimp the right way is crucial to maintaining their flavor and texture. Allow them to cool completely before placing them in an airtight container and refrigerating for up to two days.
Main Points
- Pat dry shrimp to prevent steaming and enhance browning.
- Preheat the pan for a perfect sear and crispy texture.
- Use high heat to cook quickly and caramelize for flavor.
- Avoid overcrowding the pan for even cooking and crispiness.
- Flip shrimp at the right time for optimal doneness on both sides.
Choosing the Right Shrimp

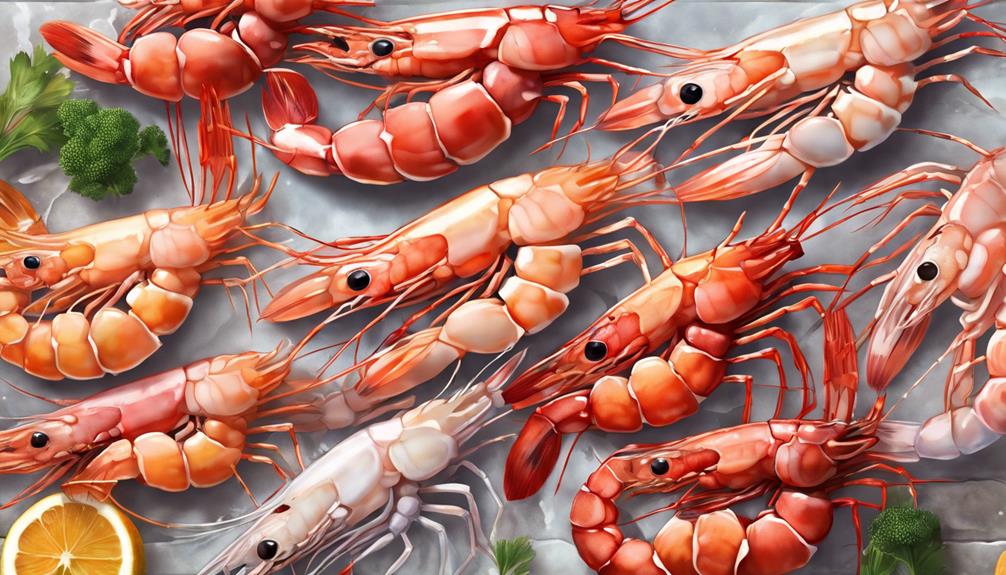
When selecting shrimp for pan-searing, opt for fresh, medium-sized ones that are firm to the touch and have a bright, translucent appearance. The importance of the shrimp is vital as it guarantees excellent flavor and texture in your dish.
Medium-sized shrimp are ideal for pan-searing as they cook quickly and evenly, preventing them from becoming tough or overcooked. The firmness of the shrimp indicates that they aren't mushy or deteriorating, ensuring a satisfying bite once cooked. Their bright, translucent appearance signifies that they're of high quality and haven't been sitting around for too long.
Additionally, look for shrimp that are deveined, as this saves you time during preparation and enhances the overall presentation of the dish. Deveining also removes any gritty or sandy textures that may be off-putting. By carefully selecting the right shrimp, you set yourself up for success in achieving perfectly crispy pan-seared shrimp every time.
Patting Shrimp Dry
To guarantee perfect pan-searing results, the next step after selecting the right shrimp is patting them dry thoroughly. This pivotal step ensures that excess moisture is removed, allowing the shrimp to sear properly and develop a crispy exterior. Here's why patting shrimp dry is essential for achieving that perfect texture:
- Prevents Steaming: Moisture on the shrimp's surface will cause it to steam rather than sear, resulting in a soggy texture.
- Promotes Maillard Reaction: By eliminating moisture, the surface of the shrimp can reach higher temperatures quickly, facilitating the Maillard reaction for that desirable golden-brown crust.
- Enhances Seasoning Adherence: Dry shrimp will hold seasonings better, allowing flavors to adhere evenly and intensify during the searing process.
- Improves Browning: Removing excess moisture helps the shrimp brown evenly, creating a visually appealing presentation and adding depth of flavor.
Preheating the Pan

Before proceeding with searing your shrimp, make sure that the pan is preheated to the optimal temperature for achieving a crisp exterior. Preheating the pan is essential as it helps create a perfect sear on the shrimp. To achieve this, place a dry pan over medium-high heat for about 2-3 minutes. You can test if the pan is ready by sprinkling a few drops of water onto the surface – if the water droplets sizzle and evaporate almost immediately, the pan is hot enough.
A properly preheated pan ensures that the shrimp come into contact with high heat as soon as they hit the surface, resulting in that sought-after crispy texture. When the pan is at the right temperature, it allows for a quick sear without overcooking the shrimp. This initial blast of heat helps lock in the juices of the shrimp, keeping them tender on the inside while achieving a delightful crunch on the outside. So, take the time to preheat your pan adequately before searing your shrimp for the best results.
Using High Heat
To achieve the best results in searing your shrimp, making sure you use high heat is essential. When the pan is hot enough, the shrimp will cook quickly, allowing for a crispy exterior while keeping the inside tender and juicy. Here are some key points to keep in mind when using high heat:
- Even Heating: Ensure the pan is evenly heated before adding the shrimp to avoid uneven cooking.
- Proper Oil Temperature: Heat the oil until it shimmers or slightly smokes before adding the shrimp for that perfect sear.
- Quick Cooking: High heat ensures that the shrimp cook rapidly, preventing them from becoming rubbery.
- Caramelization: The high heat helps in caramelizing the sugars present in the shrimp, enhancing the flavor and creating a delightful golden crust.
Avoiding Overcrowding the Pan

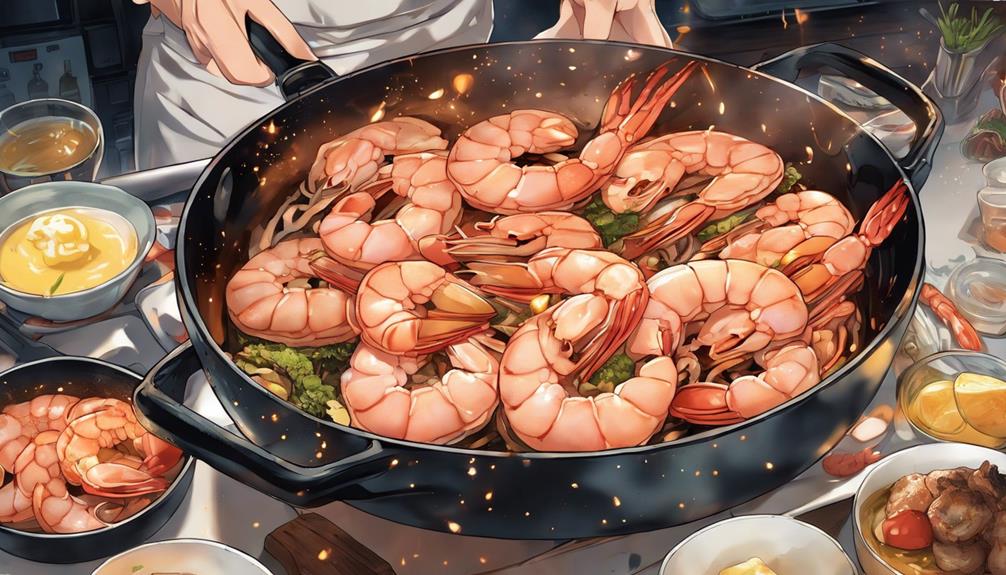
With the pan now adequately heated and ready for searing, ensuring you don't overcrowd it is paramount for achieving perfectly crispy pan-seared shrimp. Overcrowding the pan can lead to steaming instead of searing, resulting in soggy shrimp. To help you visualize the importance of avoiding overcrowding, let's consider a scenario with a 12-inch skillet:
| Scenario | Proper Spacing | Overcrowded |
|---|---|---|
| Number of Shrimp | 8 | 12 |
| Result | Crispy sear | Uneven cooking |
| Outcome | Perfectly cooked | Some shrimp soggy |
Flipping at the Right Time
To achieve perfectly cooked and evenly seared shrimp, timing your flips correctly during the cooking process is essential. When pan-searing shrimp, flipping at the right time guarantees that both sides are cooked to golden perfection without overcooking.
Here's a guide to help you master the art of flipping shrimp:
- Watch for Opacity: Keep an eye on the sides of the shrimp as they cook. When the edges start to turn opaque, it's a sign that the shrimp is ready to be flipped.
- Look for Pinkness: As the shrimp cooks, the bottom side should turn pink and curl slightly. This visual cue indicates that it's time to flip them over.
- Check for Firmness: Gently press down on the shrimp with a spatula. If they feel firm to the touch, it's a good indicator that they're cooked through and ready to be flipped.
- Avoid Overcooking: Remember that shrimp cook quickly, so be vigilant. Overcooked shrimp can become tough and rubbery, so flipping them promptly is critical for a perfectly seared result.
Adding Butter for Flavor

Improving the shrimp's flavor profile, consider incorporating a generous knob of butter into the pan during the final moments of cooking to infuse richness and depth. As the shrimp approach perfection, add a tablespoon of unsalted butter to the pan. The butter won't only provide a luxurious and velvety texture to the dish but also enhance the overall taste to a whole new level.
The butter's high fat content helps in browning the shrimp, creating a beautiful caramelization on the exterior while maintaining a tender and juicy interior. The milk solids in the butter will begin to brown, adding a nutty aroma and boosting the umami flavors of the shrimp. As the butter melts, tilt the pan slightly and spoon it over the shrimp continuously. This basting technique helps to further boost the shrimp's flavor and ensures that every bite is infused with the delicious buttery goodness.
Conclusion
To sum up, the key to achieving perfectly crispy pan-seared shrimp lies in selecting the right shrimp, ensuring they're thoroughly dried, preheating your pan, using high heat, avoiding overcrowding, flipping at the right time, and adding a touch of butter for flavor.
While some may argue that using butter adds unnecessary calories, it's essential for enhancing the taste and providing a rich finishing touch to your dish. Mastering these steps will elevate your shrimp game to the next level.
